Tired of that crackling, outdated radio in your Kubota? Let's upgrade your tractor's audio experience with a modern Bluetooth-enabled system! This guide provides step-by-step instructions for choosing and installing a new radio, whether you're a seasoned mechanic or a weekend DIY enthusiast. We'll cover everything from compatibility checks to troubleshooting common issues. For additional mounting solutions, check out this helpful resource.
Decoding Your Kubota's Radio Setup
Before you buy anything, understanding your Kubota's existing radio system is crucial. Many newer models use a convenient 9-pin harness (a standardized connector), making installation relatively simple. Older models, however, often have custom wiring—a more complex scenario best left to a professional if you lack automotive electrical experience. A quick inspection behind the dashboard will reveal your tractor's wiring configuration. Look for a 9-pin connector or a more intricate arrangement of wires.
Choosing the Right Replacement Radio
Selecting the perfect replacement radio involves several key considerations:
- Compatibility: This is paramount! Certain radios are only compatible with specific Kubota models and years. A 9-pin harness generally simplifies compatibility, but always double-check before purchasing. With custom wiring, professional assistance is often necessary.
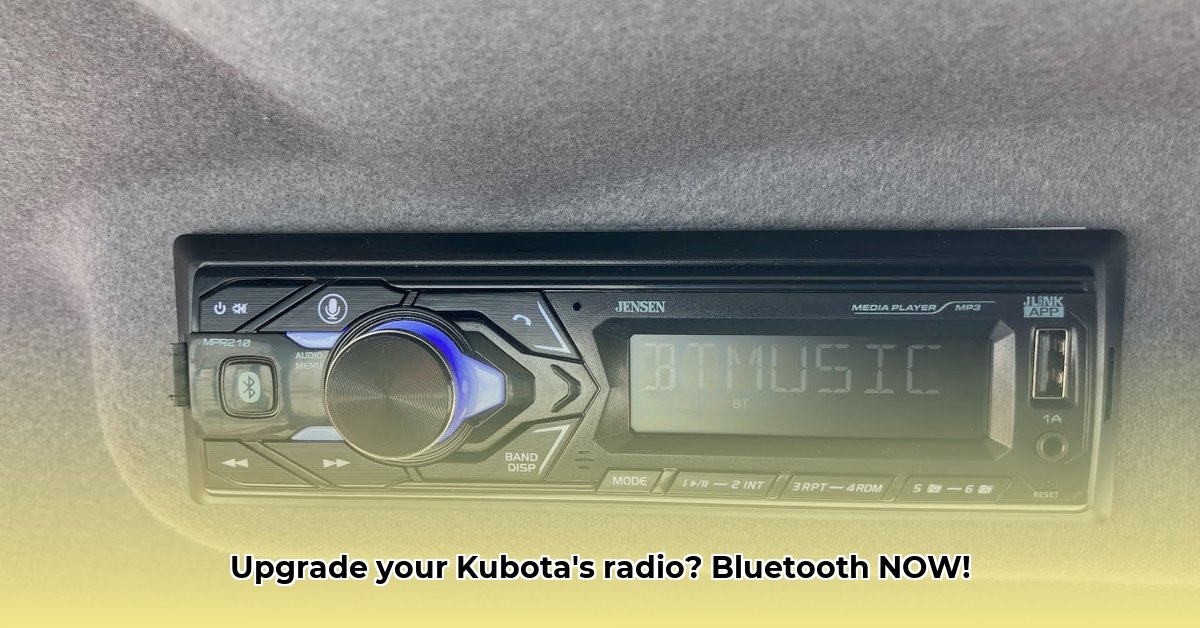
- Features: What's essential for you? Bluetooth for hands-free calling and music streaming is a popular choice. Other desirable features might include USB charging ports, auxiliary inputs, and a powerful amplifier for enhanced sound quality.
- Budget: Prices vary widely. Basic models are relatively inexpensive, while advanced systems with numerous features can command higher prices. Set a realistic budget beforehand.
Here's a sample comparison, remember that availability and prices fluctuate:
| Radio Model | Bluetooth | Hands-Free | USB Charging | Price Range (USD) | Kubota Compatibility Notes | Key Features |
|---|---|---|---|---|---|---|
| Boss Audio BV9353B | Yes | Yes | Yes | $100 - $150 | Generally good for 9-pin | Simple, reliable, good value for the money |
| Kenwood KDC-BT960HD | Yes | Yes | Yes | $200 - $250 | Check compatibility charts | More advanced features, higher-end potential |
| Pioneer DEH-S4200BT | Yes | Yes | Yes | $150 - $200 | Generally good for 9-pin | Known for reliability and sound quality |
Important Note: This table is a guideline. Always verify compatibility with your specific Kubota model and year before purchasing. Consult your owner's manual or your Kubota dealer for assistance. Isn't accurate information essential for a successful upgrade?
Installation Guide: 9-Pin Harness (The Easy Way)
For Kubotas with a 9-pin harness, installation is typically straightforward. Safety is key, however:
- Safety First – Disconnect the Battery: Always disconnect the negative (-) battery terminal to prevent electrical shock or short circuits.
- Remove the Old Radio: Carefully remove the existing radio from its dashboard mounting. This usually involves unscrewing or unclipping the unit.
- Connect the New Radio: Plug the new radio's harness directly into the tractor's 9-pin connector. It's designed for a direct fit.
- Secure the Radio: Mount the new radio securely in the dashboard opening.
- Reconnect the Battery: After verifying all connections, reconnect the negative battery terminal.
- Test Thoroughly: Turn on the ignition and test all functions: power, volume, sound, Bluetooth pairing, and any additional features.
Installation Guide: Custom Wiring (When to Call a Pro)
Custom wiring installations require significant experience with automotive electrical systems. Unless you're comfortable working with vehicle electronics, it's highly recommended to seek professional help. Improper wiring can damage your tractor's electrical system and void warranties.
Troubleshooting Common Issues
Even with a 9-pin harness installation, problems can arise:
- No Power: Check the battery connection and fuses in the tractor's fuse box.
- Poor Sound Quality: Examine speaker connections, ensuring they are secure and undamaged. Also, adjust the radio's equalizer settings.
- Bluetooth Problems: Ensure your phone is discoverable, review pairing instructions, and consider rebooting both devices if needed.
Warranty Considerations
Installing an aftermarket radio might void your Kubota's warranty, especially if electrical problems occur. Review your warranty documents thoroughly and consider contacting your Kubota dealer before proceeding. Protecting your investment is crucial—wouldn't you agree?
Remember, safety is paramount! If you're uncertain about any step, consult a qualified mechanic or your Kubota dealer. Enjoy your upgraded listening experience!